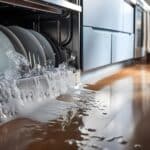
Start with our Dishwasher Not Draining guide if you haven’t already, it lays out the general troubleshooting order. What follows here is GE-specific: how to reset the unit, where to find the relevant parts, and how GE signals a fault. If you’ve been through all of that and water is still sitting in the tub, the no-blockage follow-up guide digs into the pump.
GE reset procedure
Press Start/Reset (labeled just “Start” on some models). If nothing happens, cut power at the breaker for 5 minutes rather than just unplugging briefly, GE’s control boards on several generations need a longer power-off window than other brands to fully clear a fault.
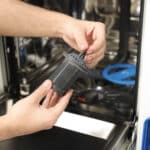
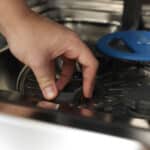
Finding the Filter and Pump on a GE Dishwasher
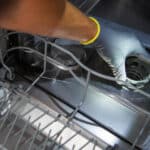
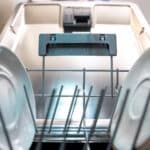
On grinder-equipped models, there’s nothing to remove: check for a jam by looking down through the drain area at the bottom of the tub for glass, bones, or fruit pits, the usual culprits for a stalled chopper blade. On manual-filter models, pull the lower rack and twist the filter cylinder at the bottom of the tub to remove it, the same basic mechanism as most other brands. On either type, the pump sits in the sump beneath the tub floor; reaching it means removing the lower access panel from inside the front of the cabinet, a bigger job best left for after you’ve ruled out a jam or a clogged filter.
Error codes and lights you might see
Many GE dishwashers, especially older ones, don’t have a text display at all. A fault shows up as a blinking Clean light or a repeating flash pattern instead, so check your use and care guide to decode the sequence rather than expecting a letter code. On models that do show text, H2O means the unit isn’t detecting water entering the tub, which is a fill problem, not a drain one, so don’t chase the pump if that’s the code you’re seeing.
The GE Habit Behind Most Drain Calls
A loud grinding noise during the drain phase is normal on disposer models, that’s the chopper blade doing its job, but a sudden change from a steady grind to a metallic rattle usually means something rigid is caught in it. On the newer manual-filter models, owners coming from an older self-cleaning GE unit often don’t realize they now need to clean a filter by hand, and skip it entirely until the tub starts holding water.
Frequently Asked Questions
How do I know if my GE dishwasher has a grinder or a filter?
Check your model number on GE's website, or look at the bottom of the tub: a removable cylindrical filter means manual filtration, no visible filter usually means a grinder.
Is a grinding noise during drain normal?
Yes, on models with a hard-food disposer. It should sound like a steady grind, not an intermittent metallic rattle.
Does H2O mean the pump is broken?
No, it's a water-fill fault, not a drain fault. Check the supply valve and inlet, not the pump.
Can I add a filter to an older grinder-equipped GE dishwasher?
No, the two systems aren't interchangeable. If the grinder is the issue, it needs to be repaired or replaced as-is.
Treat this as a diagnostic starting point, it’s no substitute for a qualified repair technician.
]]>