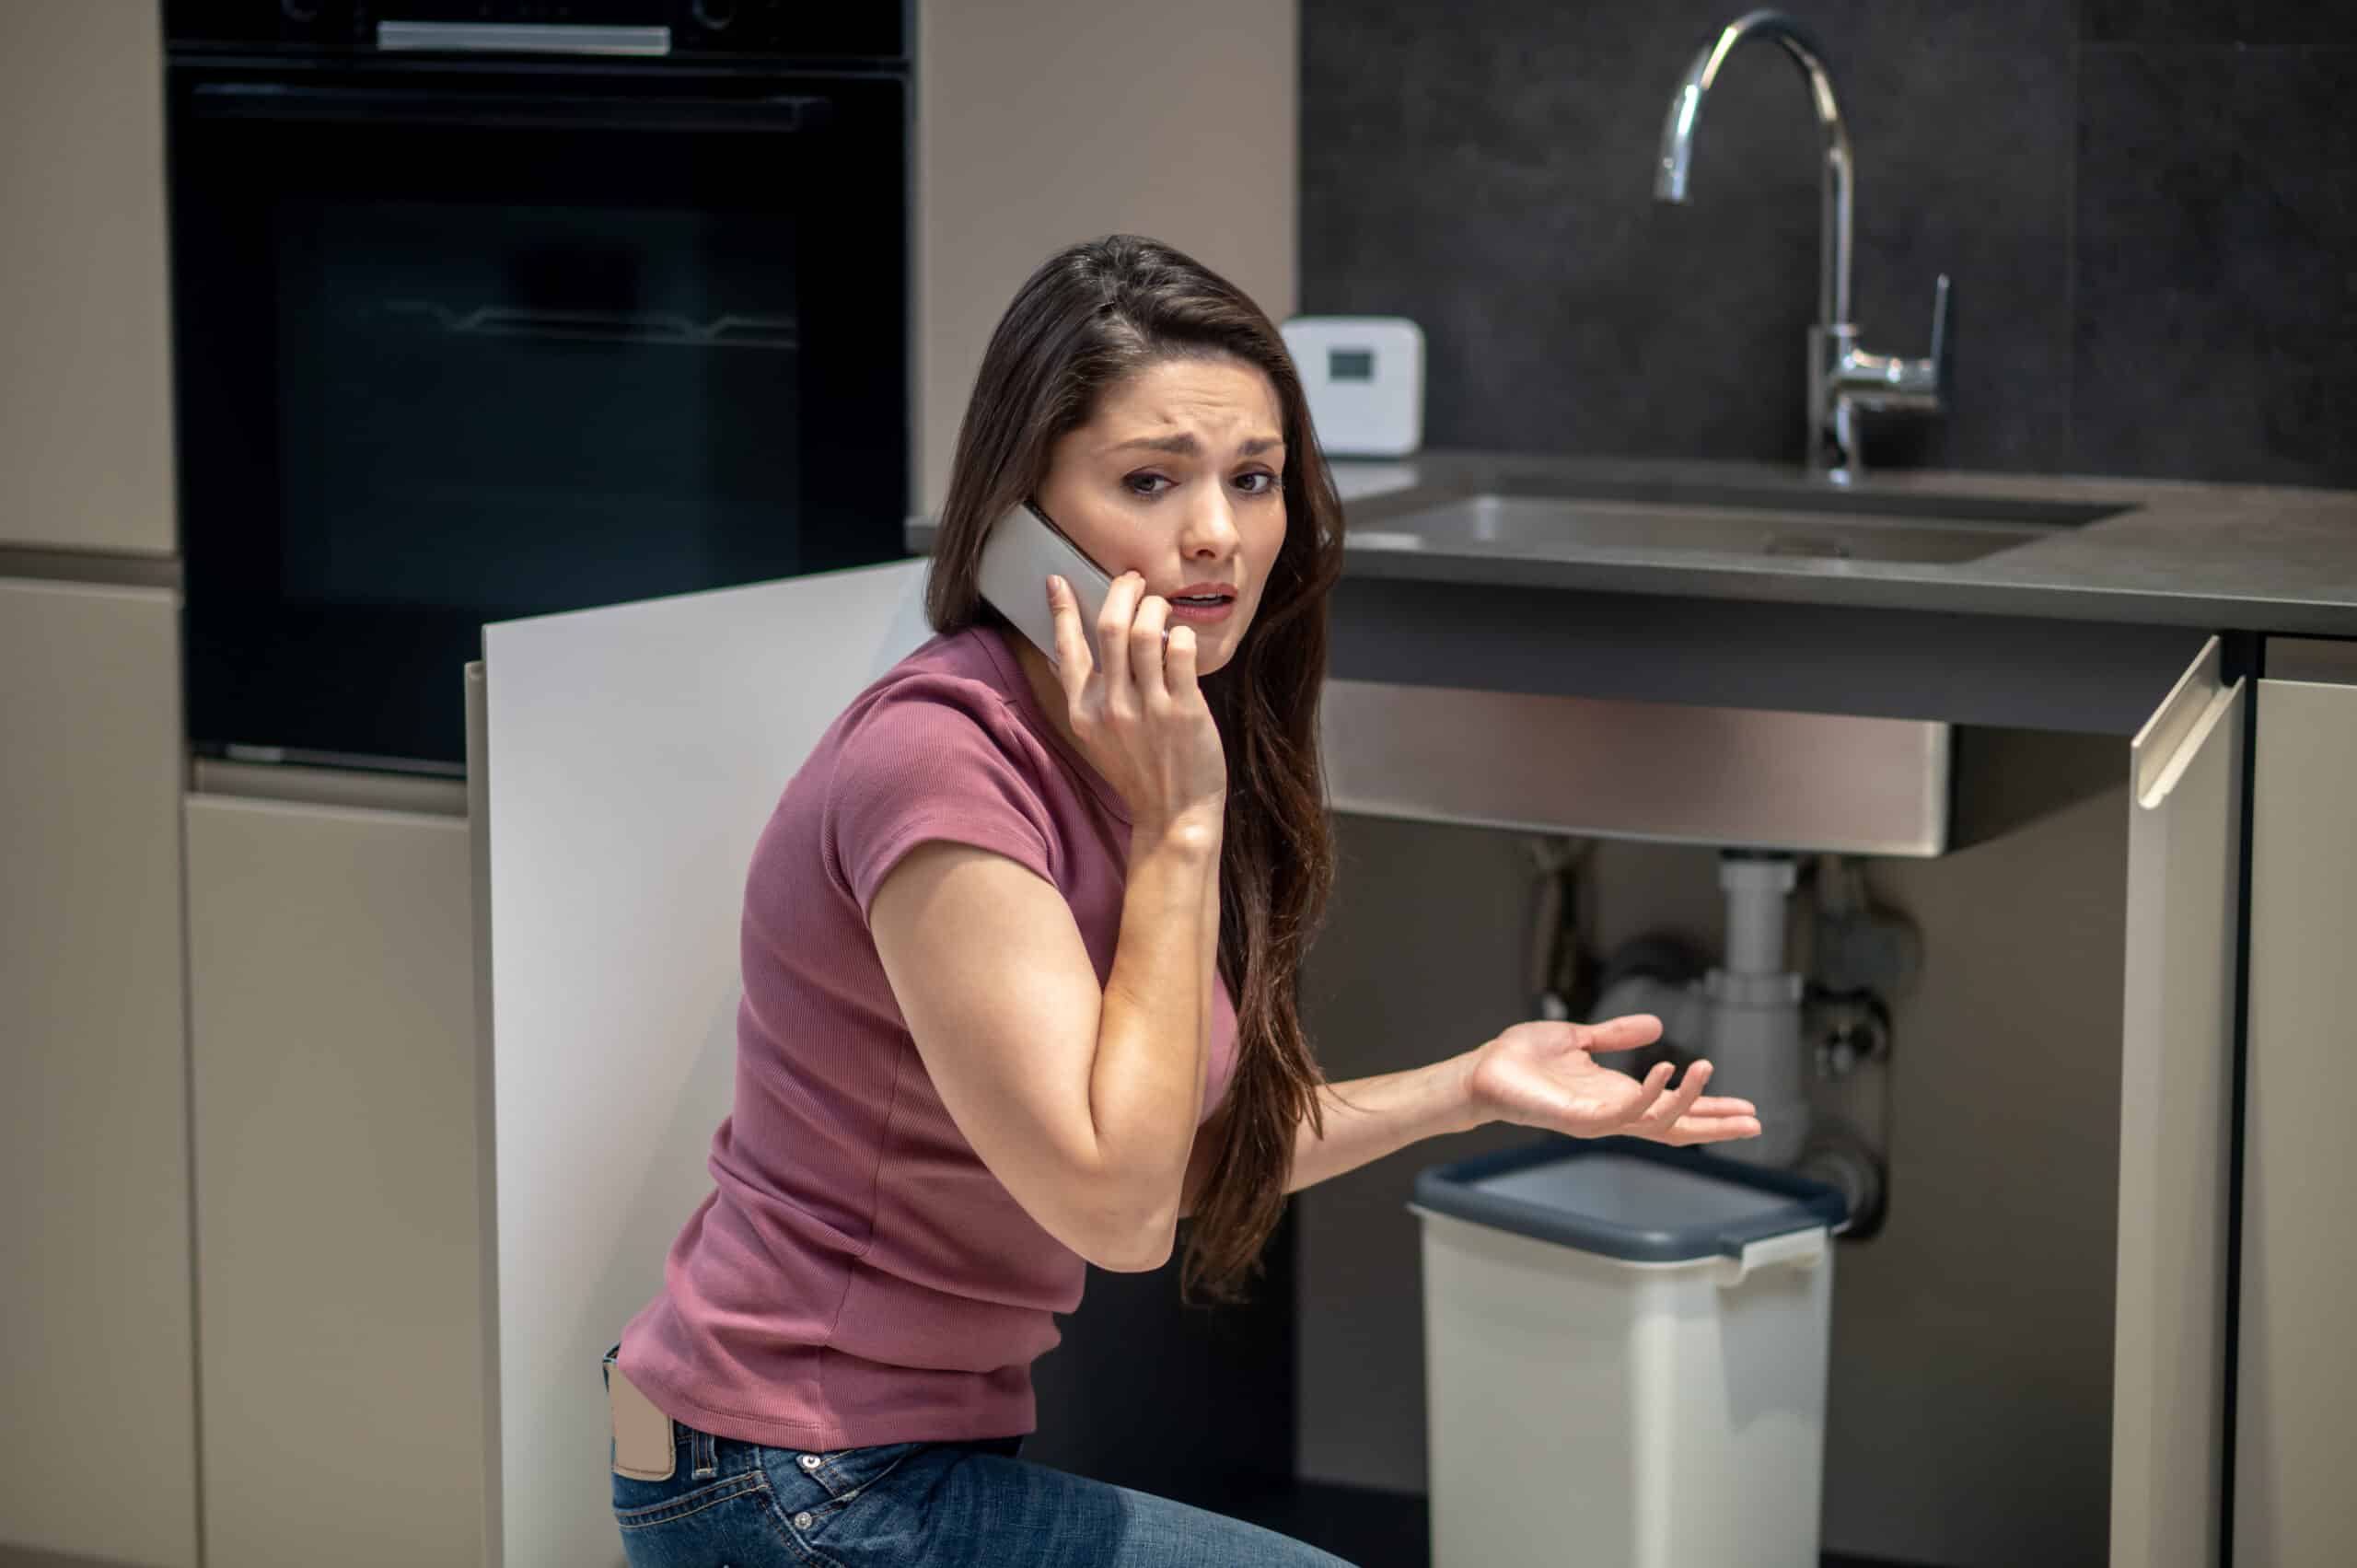
A leaking garbage disposal has one of a few likely sources, and where the water shows up narrows it down fast. Most leaks come from a connection point (the sink mount, the dishwasher hose, or the drain outlet), all of which are cheap, quick repairs. A leak from the bottom or side seam of the unit itself is the one exception, and it means the case has failed internally, which calls for replacement, not repair.
This sits within our broader garbage disposal troubleshooting hub.
Quick Diagnosis Table
| Leak Location | Likelihood | Difficulty | Typical Part Cost |
|---|---|---|---|
| Sink flange / mounting gasket (top of unit, under the sink strainer) | Very likely | Easy to moderate | $10–20 |
| Dishwasher connection hose or clamp | Likely | Easy | $5–10 |
| Discharge drainpipe gasket (unit to P-trap) | Likely | Moderate | $5–15 |
| Reset button seal or side seam (cracked housing) | Possible | Not repairable | Replace unit, $100–250 |
| Internal seal failure, leaking from the bottom of the case | Possible | Not repairable | Replace unit, $100–250 |
How to Find the Source
Dry the entire underside of the unit and the cabinet floor with a towel, then run water into the sink without turning the disposal on. Watch the top mounting ring first: water beading there means the flange gasket has failed. Next, run the dishwasher briefly (or just its drain cycle) and check the dishwasher hose connection on the side of the unit. Finally, run water again and check the discharge pipe connection at the bottom where it meets the P-trap. If none of those are wet but the bottom of the metal case itself is damp, the leak is internal and the unit needs replacing.
Repair or Replace?
A flange gasket, dishwasher hose, or discharge pipe gasket is a cheap, straightforward swap that takes most people under 30 minutes with basic tools. A leak from the case itself, whether at the reset button, a side seam, or the bottom, means the internal seal around the motor has failed, and that’s not something home repair kits address. At that point, replacing the unit is the only real option.
See our InSinkErator and Badger guides for brand-specific mounting hardware notes.
Frequently Asked Questions
Use this as a starting point for diagnosis, not as a replacement for a qualified professional’s judgment.