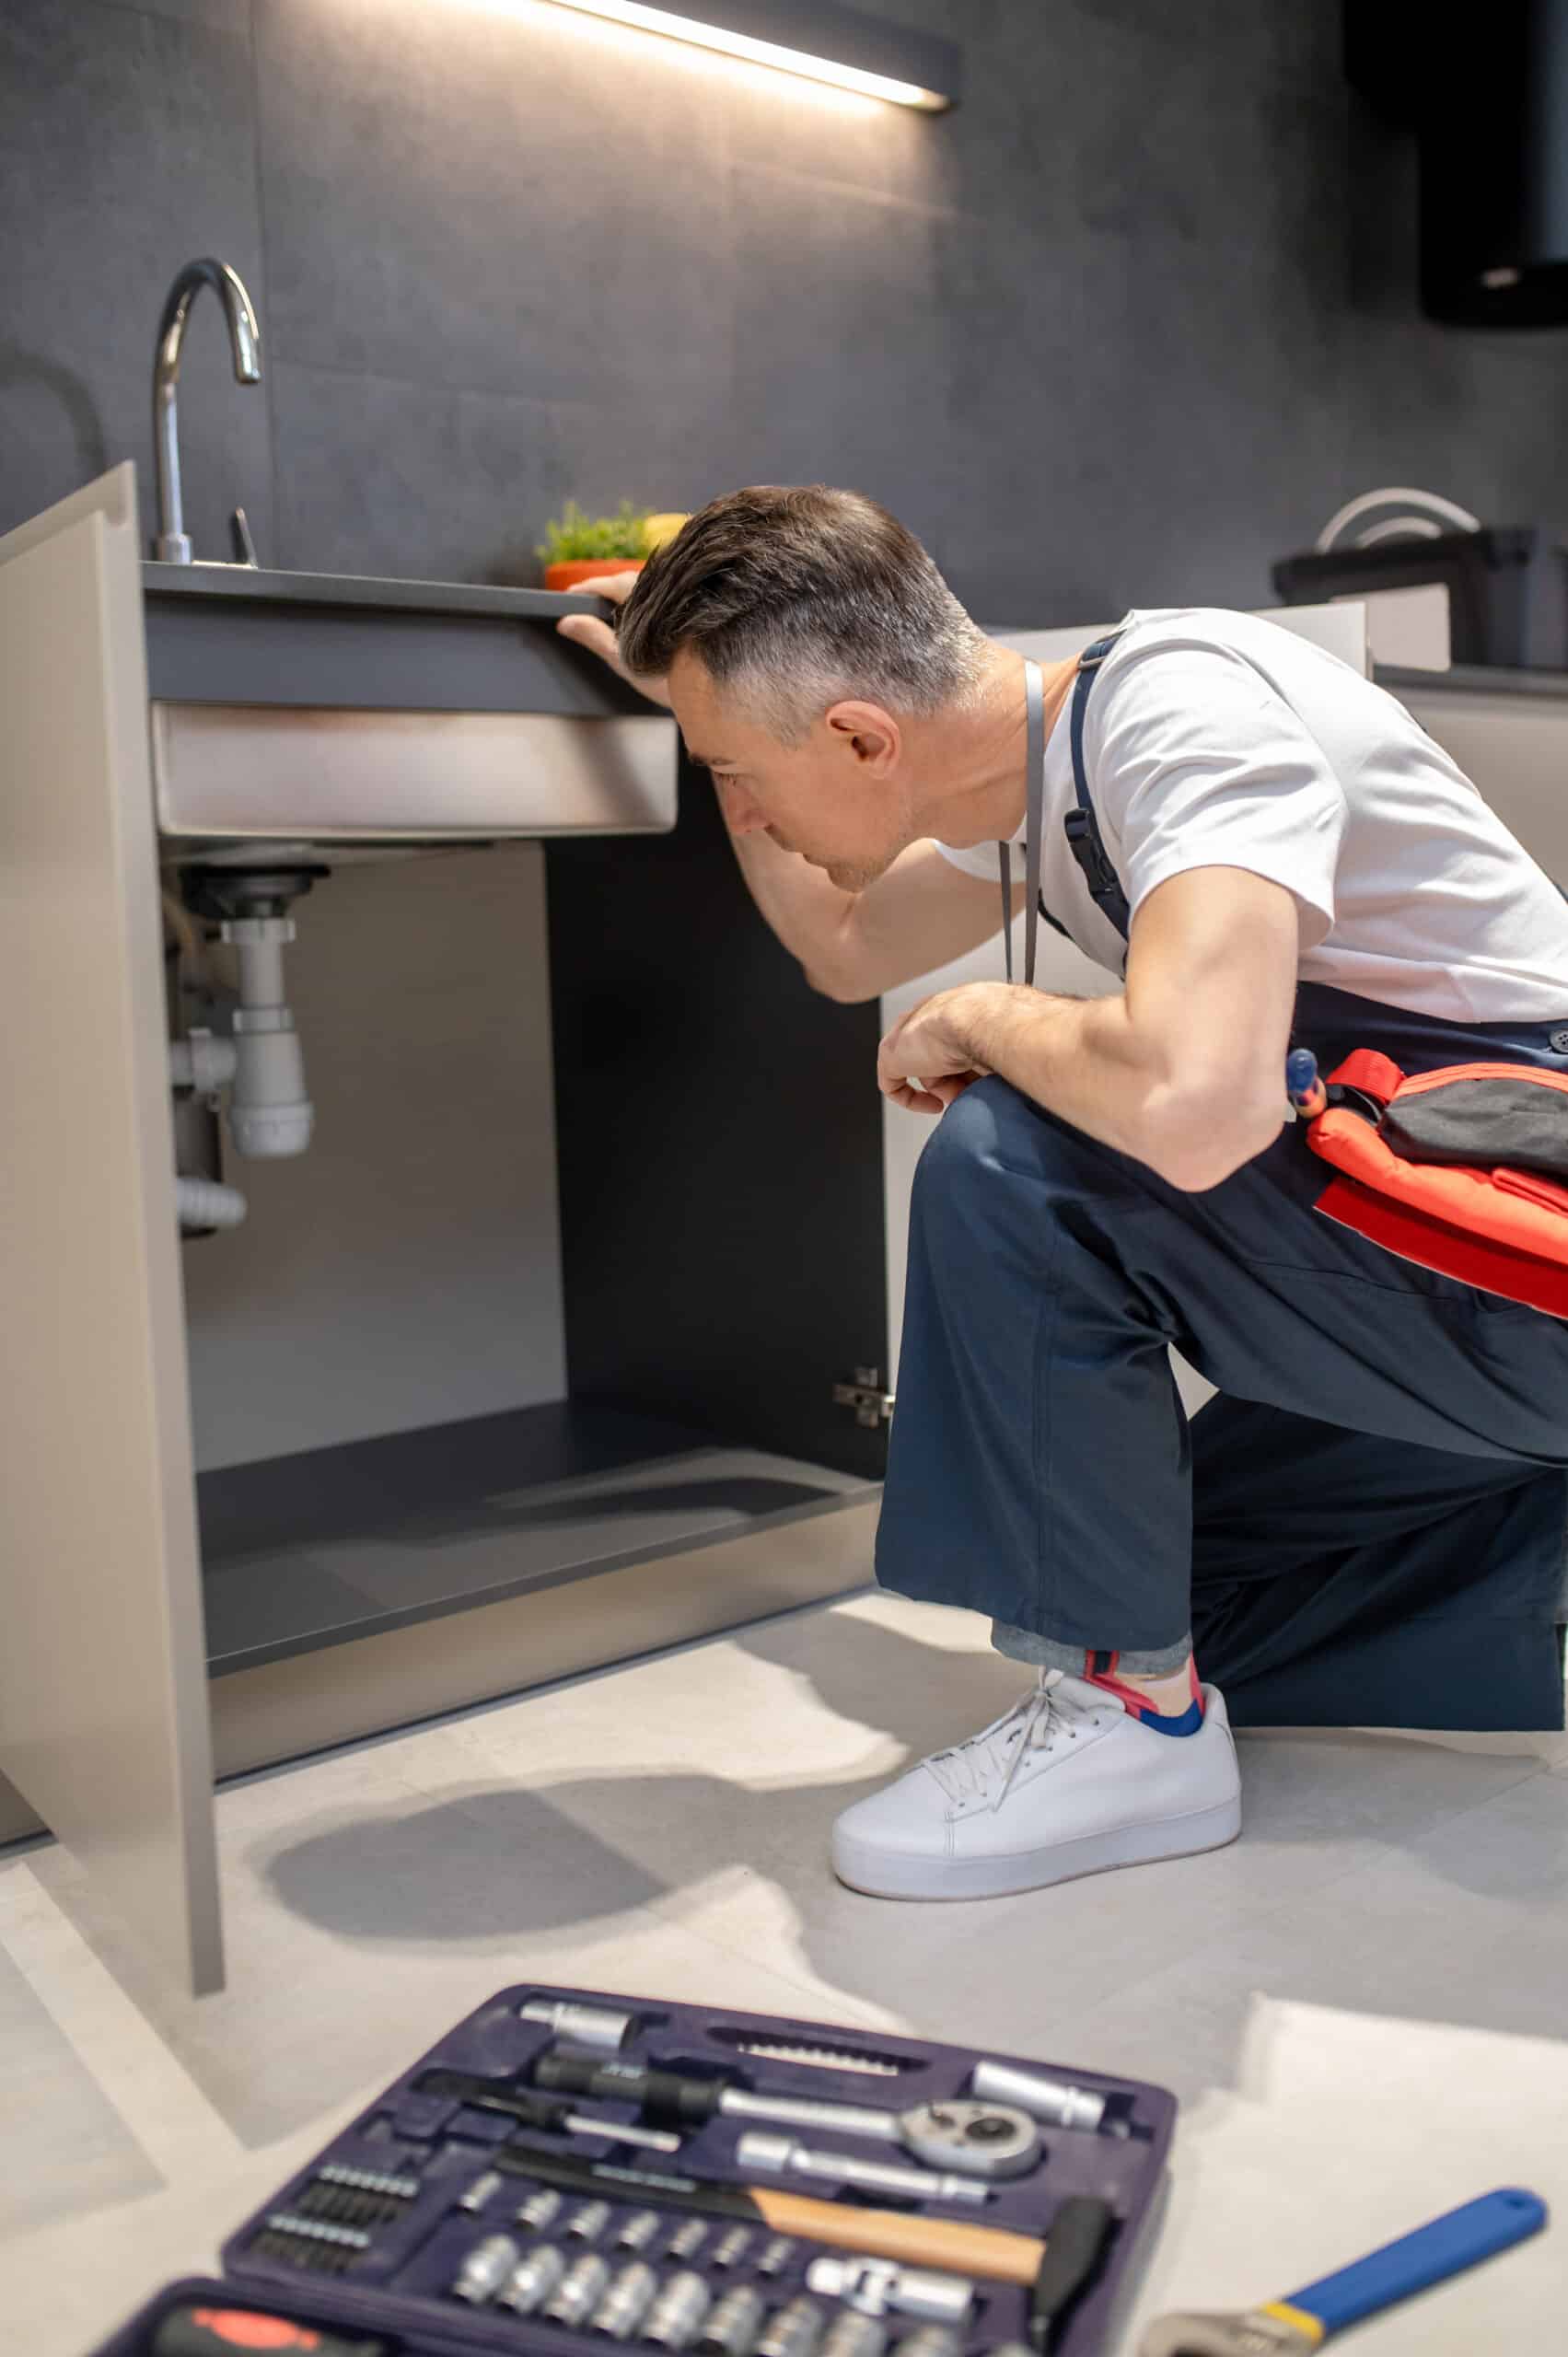
A jammed garbage disposal is one of the easiest kitchen fixes there is, once you know the safe way to do it. Almost every jam clears in under five minutes with the hex wrench most units ship with, no disassembly and no service call needed. The one rule that matters more than any tool: never put your hand or fingers into the disposal chamber, plugged in or not.
You’ll find every likely cause covered in our garbage disposal troubleshooting hub. If you’re not sure whether your unit is actually jammed versus dead, check our humming guide first: a hum with no grinding is the clearest sign of a jam.
Quick Diagnosis Table
| What’s Jamming It | Likelihood | Difficulty | Typical Cost |
|---|---|---|---|
| Fibrous food (celery, corn husks, onion skins) | Very likely | Easy | $0 |
| Utensil or small object dropped in | Very likely | Easy | $0 |
| Bones or fruit pits | Likely | Easy | $0 |
| Hardened grease or starch buildup around the flywheel | Possible | Moderate | $0 |
| Non-food object (glass, bottle cap, jar lid) | Possible | Moderate, higher care needed | $0 |
The Safe Clearing Procedure
Switch the unit off and unplug it, or shut off its breaker if it’s hardwired, before doing anything else. Most disposals have a small hex-shaped socket on the bottom center of the unit; insert the included wrench (usually 1/4 inch) and turn it firmly in both directions to work the flywheel free. Once it spins freely without resistance, use tongs or needle-nose pliers, never your hand, to lift out any visible debris from the top. Plug the unit back in, run cold water, and turn it on briefly to confirm it’s grinding normally again.
Repair or Replace?
A jam costs nothing to clear and doesn’t damage the unit if handled promptly. Repeated jamming on the same unit, several times a month, is usually a sign of an undersized or aging motor rather than bad luck, and at that point a new mid-range disposal ($100–250 installed) with more horsepower is often the better long-term fix.
InSinkErator and Badger units both use a 1/4 inch hex wrench in the same bottom-center location. See our InSinkErator and Badger guides for model photos.
Frequently Asked Questions
This guide is meant to help you diagnose the issue yourself and isn’t a substitute for a qualified professional.