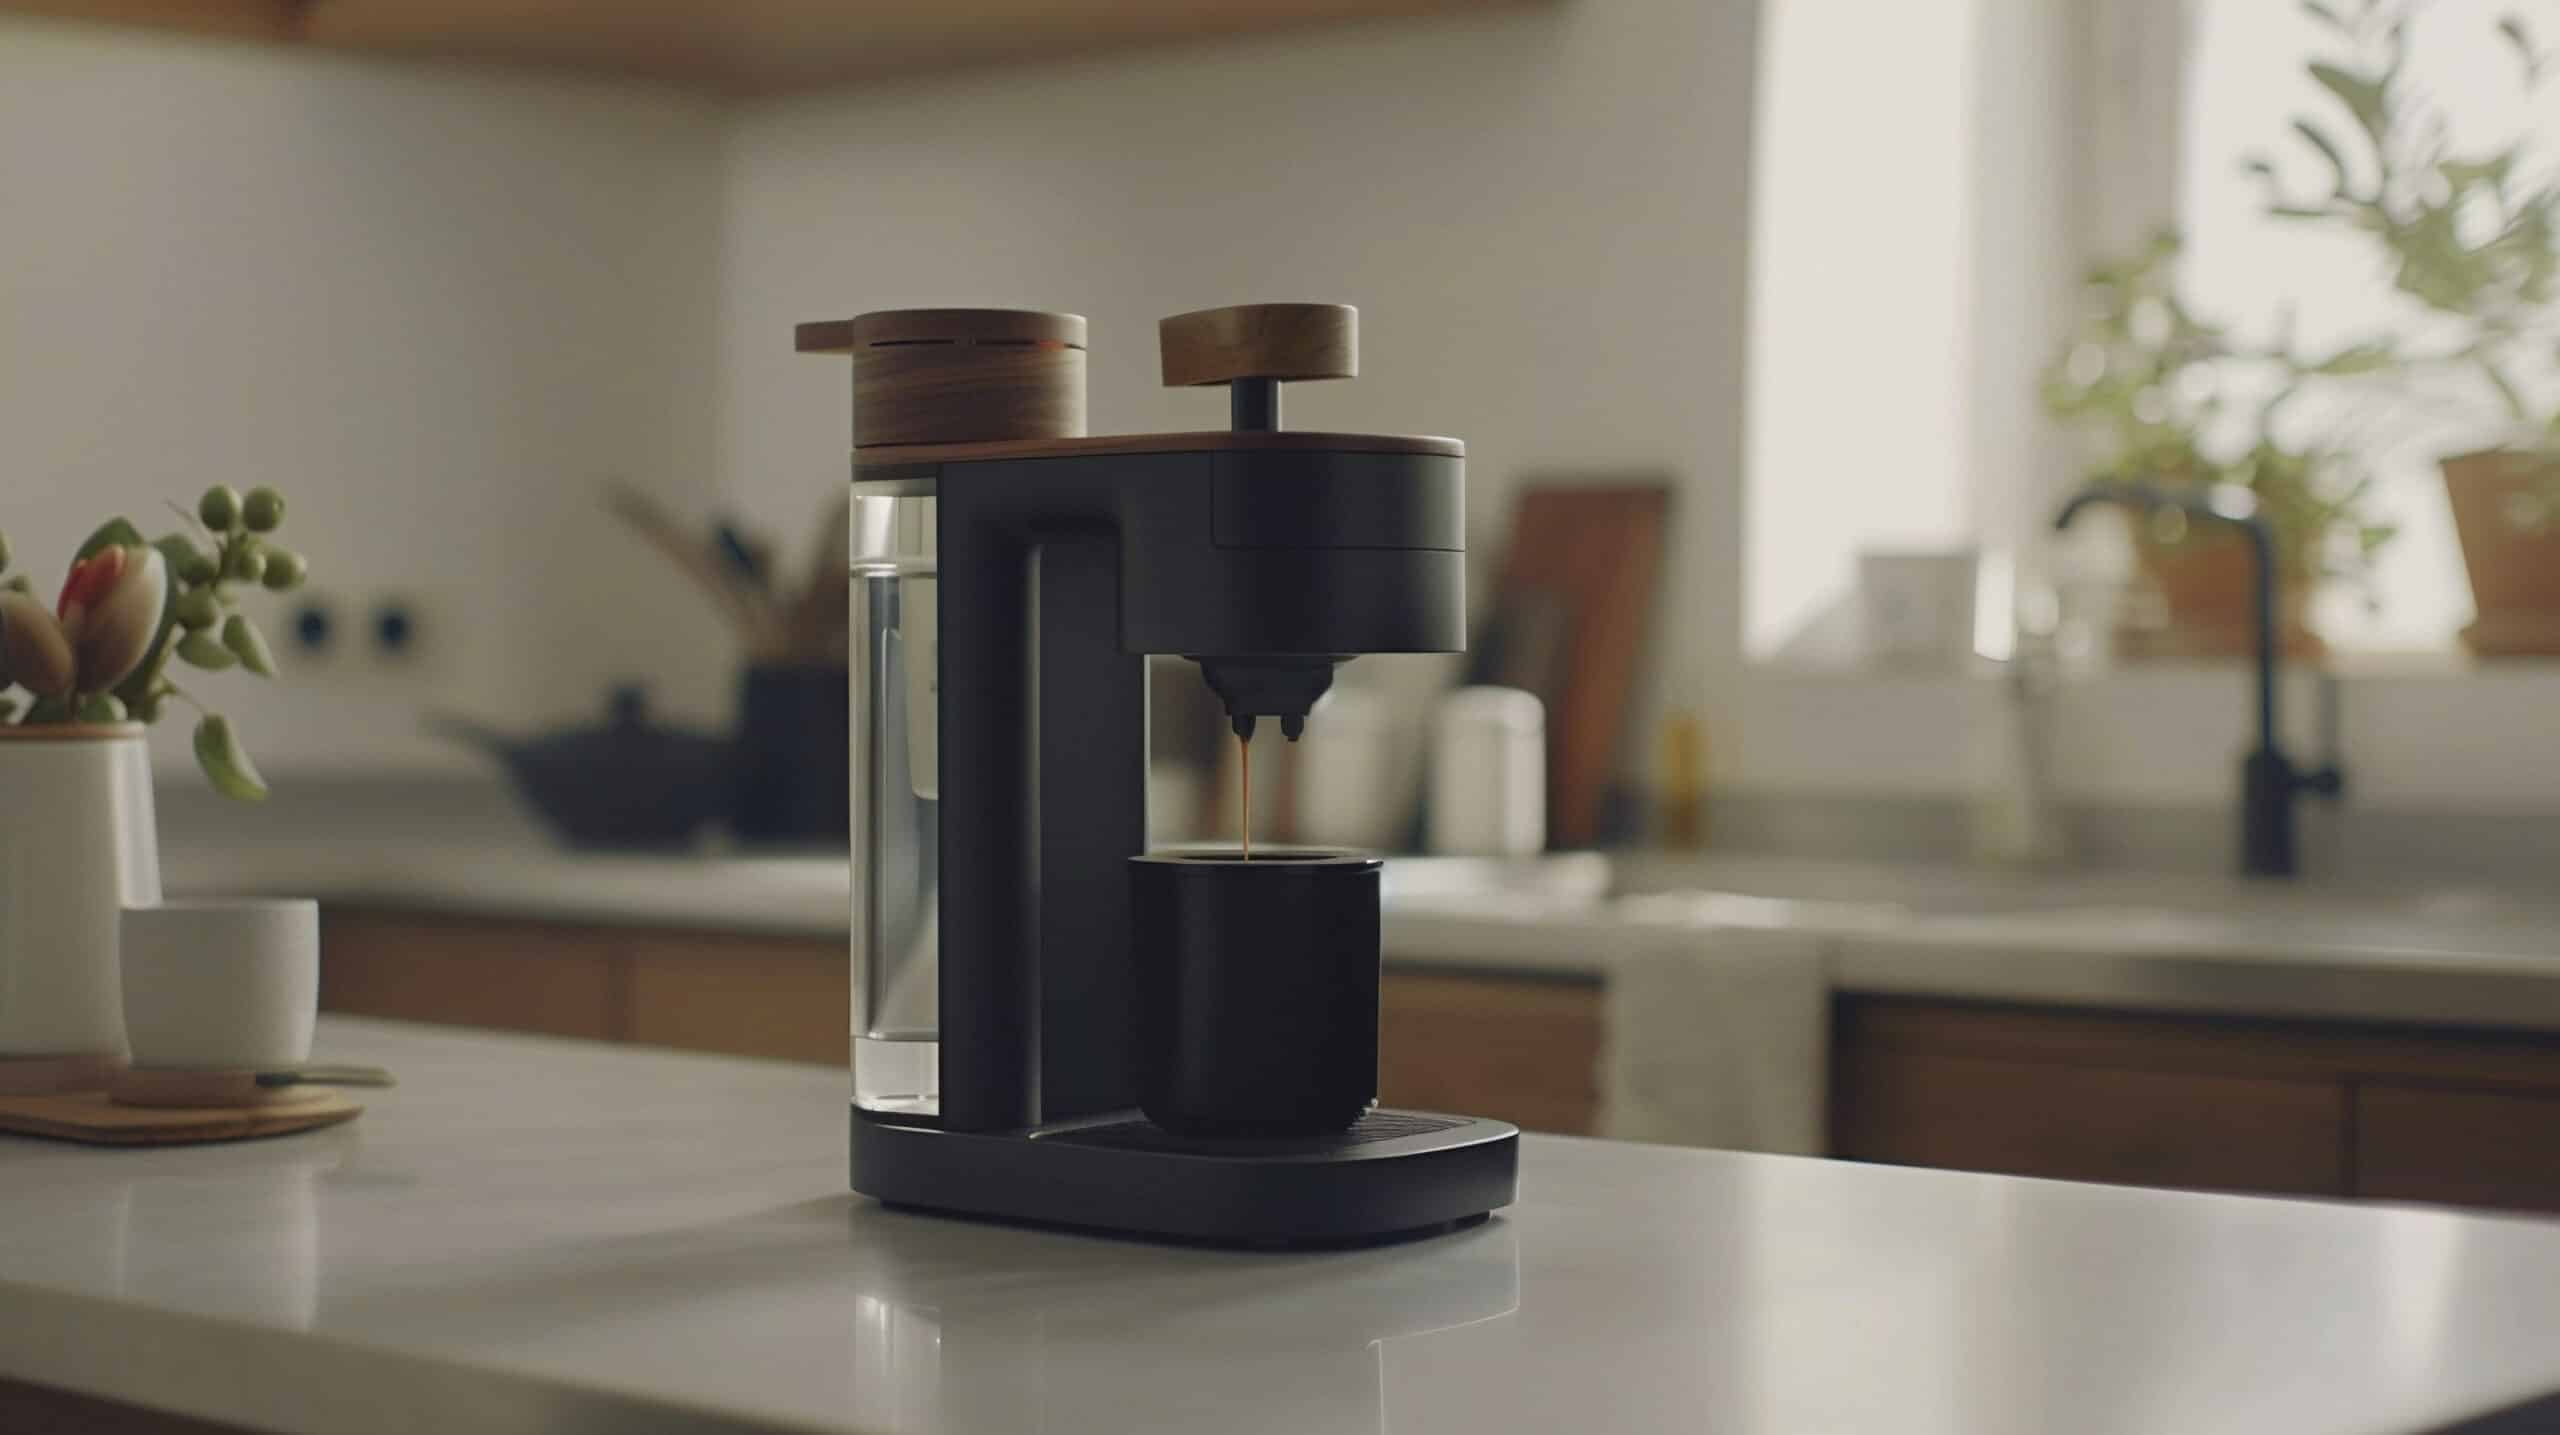
Keurig is the single-serve brand most people mean when they say “coffee maker,” and it has a reputation for being finicky rather than fragile. Most Keurig complaints — a stalled brew, a stuck descale light, a puddle under the machine — trace back to an air lock, a mispositioned reservoir, or an incomplete descaling cycle, not a failed pump or a cracked housing. This guide walks through the problems we see most often, what they typically cost to fix (usually nothing), and the point where a sealed single-serve unit stops being worth repairing.
If your machine isn’t a Keurig, start with our general coffee machine troubleshooting hub instead — the fixes below are specific to Keurig’s reservoir, needle, and descale-cycle design.
How Repairable Is a Keurig, Really?
Honestly, it depends on what’s broken. Keurig machines are sealed single-serve units built to a price point, so there’s no consumer parts catalog for internal components like the pump or the control board. That makes the machine very DIY-friendly for the handful of things that go wrong from normal use — limescale, a stuck needle, a reservoir that isn’t seated — and not DIY-friendly at all once an internal part actually fails. In that second case, there generally isn’t a repair option to attempt: replacing the machine is the realistic path, not a personal failure of diagnosis.
Common Keurig Problems We Cover
Each guide below walks through the likely causes in order of probability, with tests you can run before assuming the machine is dead.
- Keurig Won’t Turn On or Not Working — usually a loose plug, a tripped GFCI outlet, or a reservoir that isn’t fully seated, not a dead unit.
- Keurig Not Brewing — typically an air lock in the lines, a misaligned reservoir, or a clogged entrance needle.
- Keurig Descale Light Won’t Turn Off — almost always an incomplete descale cycle or a rinse that didn’t fully clear.
- Keurig Leaking Water — most often an overfilled reservoir, a blocked valve, or a full drip tray mistaken for a leak.
What Keurig Repairs Actually Cost
Three of the four problems above cost nothing to fix — they’re seating, cleaning, or descaling issues. Descaling solution runs $5 to $10 if you don’t want to use vinegar. The only scenario with a real cost is a failed internal part such as the pump or control board, and since Keurig doesn’t sell those as consumer parts, “repair” isn’t really on the table — replacement is. A new Keurig runs roughly $80 to $200 depending on the model. For the full cost breakdown across all coffee maker types, see our Coffee Maker Repair Cost guide.
When to Call a Professional
Keurig machines aren’t designed to be opened by owners, and there typically isn’t a local appliance repair shop that stocks parts for one — the practical “professional” here is Keurig’s own customer support and warranty process, not a technician visit. Contact Keurig directly if the machine is still under warranty, if you smell burning, or if you see melted plastic near the cord or outlet. Never continue using a machine that shows any of these signs.
Frequently Asked Questions
Can a Keurig be repaired, or should I always replace it?
Most Keurig problems — air locks, a stuck needle, an incomplete descale — are free fixes you can do yourself. It’s only once an internal part like the pump fails that repair stops being an option, since Keurig doesn’t sell those components separately. At that point, replacing is the only realistic path.
Why does my Keurig’s descale light stay on after I’ve descaled it?
Almost always because the descale cycle was interrupted or the rinse stage wasn’t run to completion. See our descale light guide for the full reset sequence.
How often should I descale a Keurig?
Every 3 to 6 months under normal use, more often in hard-water areas. Regular descaling prevents most of the brewing and flow problems covered in this guide.
Is a Keurig worth buying if repairability matters to me?
Not if long-term repairability is your priority. Keurig’s single-serve design trades repairability for convenience — most drip coffee makers and traditional espresso machines with removable parts are more serviceable when something eventually fails.
The information provided here is a diagnostic aid and does not replace the intervention of a qualified professional.